Roof Replacement in Massachusetts: What Really Happens Step by Step
What Really Happens During a Roof Replacement? A Step-by-Step Look
When homeowners look at a newly completed roof, they usually see one thing: the finished shingles.
But a professional roof replacement involves much more than simply removing old shingles and installing new ones.
The work underneath the finished surface—including removal, inspection, preparation, flashing, underlayment, ventilation details, and installation—plays an important role in how the complete roofing system performs.
For homeowners throughout Middlesex County, Worcester County, Norfolk County, and the Greater Boston Area, understanding the roof replacement process can make it easier to evaluate proposals, communicate with contractors, and understand exactly what is happening above your home.
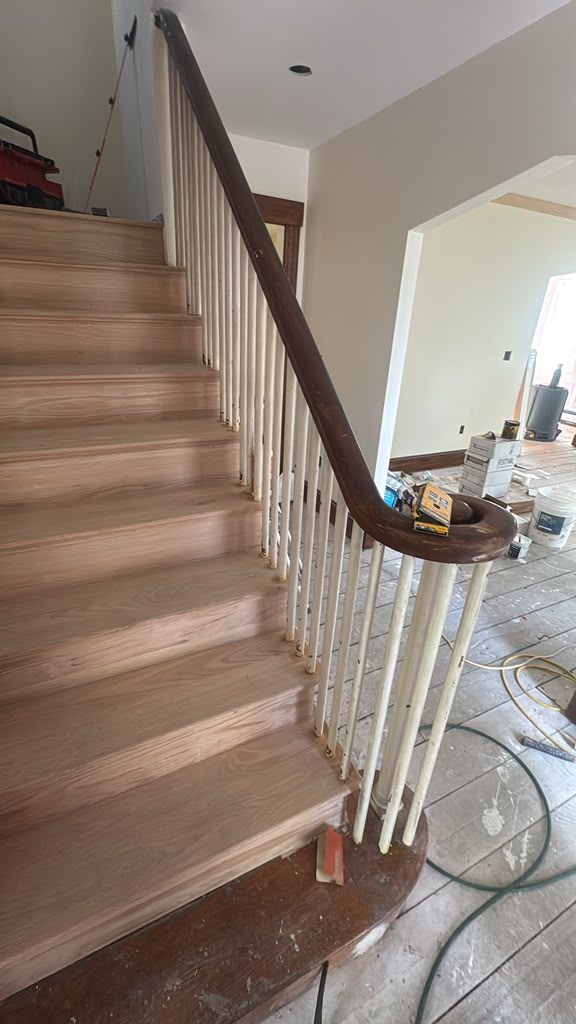
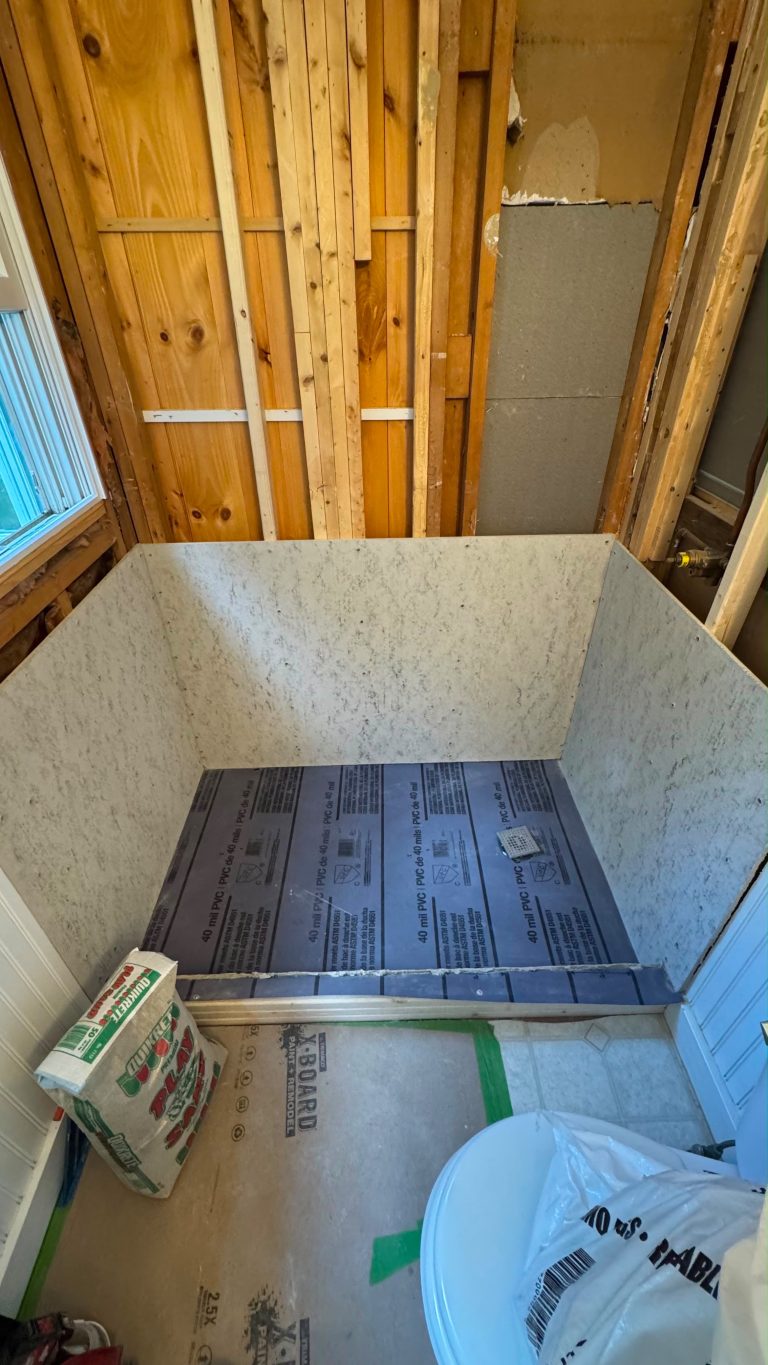
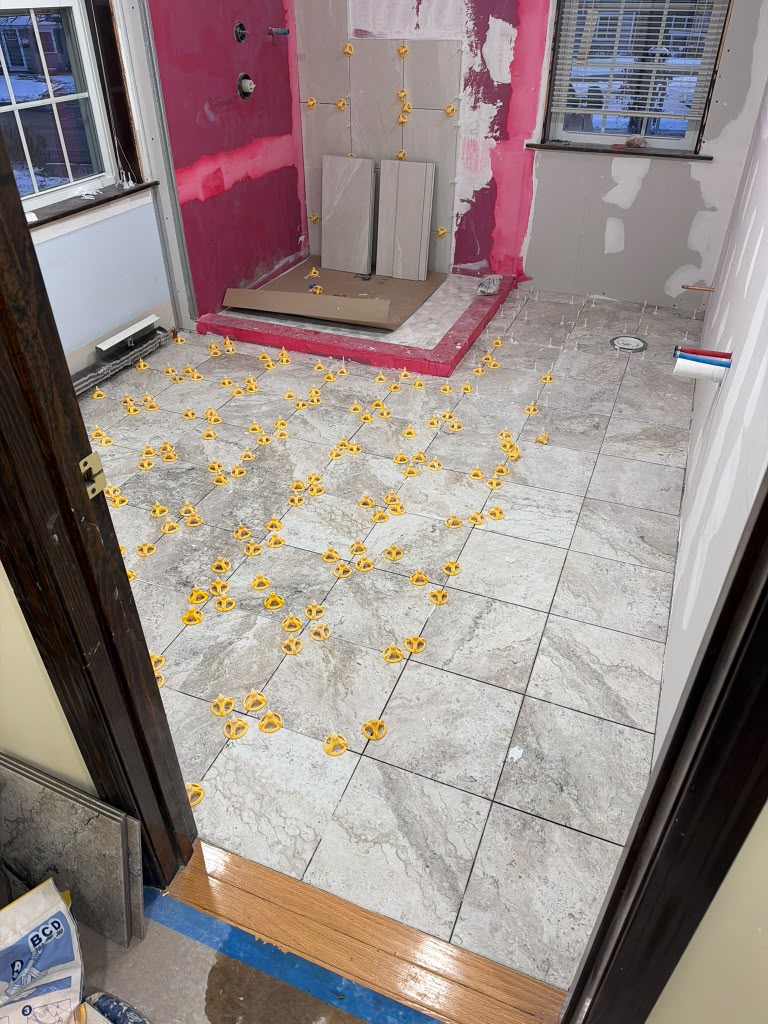
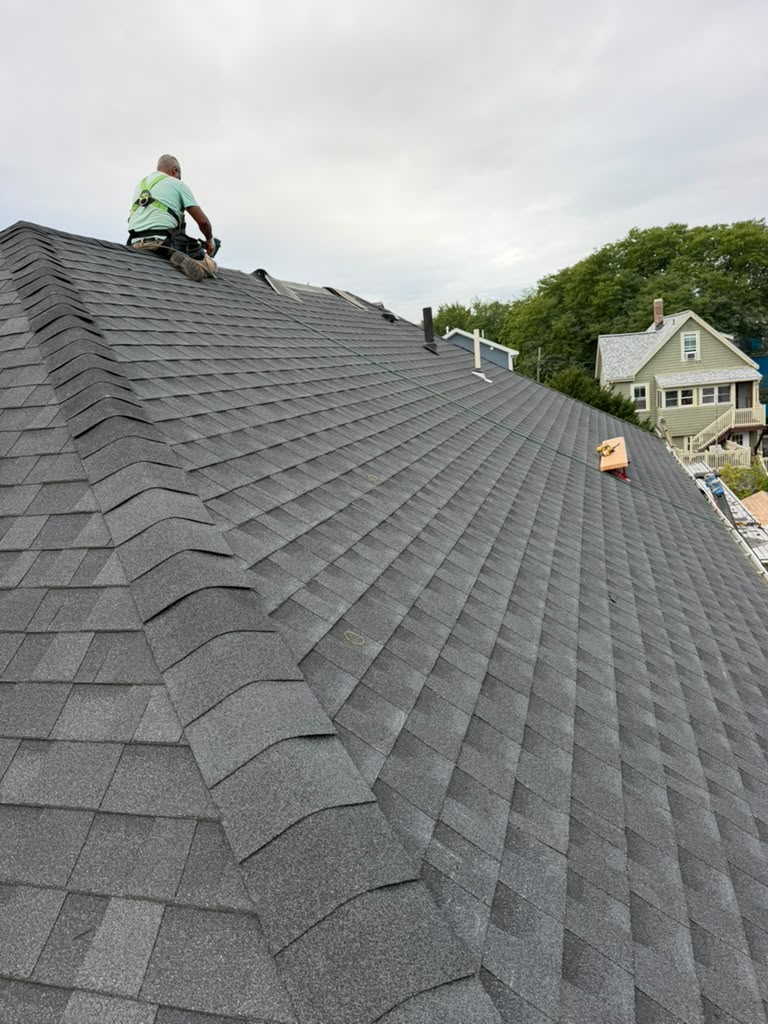
The project photographs featured in this article show actual work performed by the Ronie Construction team and provide a useful look at several stages that homeowners normally never see once the project is complete.
A Roof Is a Complete System
One common misconception is that the shingles are the roof.
In reality, shingles are only one visible component of a roofing system.
Depending on the home and roof design, the complete assembly can involve:
- Roof decking
- Underlayment
- Water-management materials
- Flashing
- Drip edge
- Ventilation components
- Shingles
- Ridge components
- Penetration details
- Gutters and drainage
Each component has a specific function.
That is why simply covering an existing problem with new shingles is not the same as performing a proper roof replacement.
Step 1 — Evaluating the Existing Roof
Before replacement begins, the existing roof should be evaluated.
Contractors may look for visible signs such as:
- Missing shingles
- Cracked or curling shingles
- Damaged flashing
- Previous repairs
- Soft or deteriorated areas
- Signs of moisture intrusion
- Ventilation concerns
- Problems around chimneys or other penetrations
The evaluation helps establish the scope of work, although some underlying conditions may only become visible after the old roofing material is removed.
Step 2 — Protecting the Property
Roof replacement involves demolition and material handling.
Before removal begins, contractors need to consider how the surrounding property will be protected.
Depending on the project, this can involve protecting:
- Siding
- Windows
- Landscaping
- Walkways
- Driveways
- Decks
- Exterior equipment
Debris management is an important part of a professional roofing project.
Step 3 — Removing the Existing Roofing
Removing the existing roof exposes the materials underneath.
This is one of the most important stages because it allows the contractor to see conditions that were previously hidden.
The removal process can reveal:
- Deteriorated decking
- Water staining
- Previous patching
- Improper installations
- Damaged wood
- Flashing issues
- Other underlying conditions
Why Complete Removal Can Matter
Installing a new surface without understanding what is underneath can leave existing problems unresolved.
Once the roofing materials have been removed, the contractor has an opportunity to evaluate the substrate before the new roofing system covers it again.
Step 4 — Inspecting the Roof Deck
The roof deck creates the structural surface to which roofing components are attached.
It needs to provide an appropriate base for the new system.
Contractors may inspect for:
- Rot
- Moisture damage
- Loose sections
- Damaged sheathing
- Weak areas
- Openings
- Previous repair work
If deteriorated areas are discovered, they may need to be addressed before installation continues.
Step 5 — Preparing the Roof Surface
Once the existing roofing has been removed and necessary deck work addressed, preparation for the new system begins.
Depending on the project, preparation may include different protective layers and edge components.
The purpose is to create a properly prepared roofing assembly rather than installing shingles directly over an unsuitable surface.
Step 6 — Underlayment and Water Management
Underlayment provides an additional protective layer beneath the shingles.
Specific products and installation methods depend on the roofing system, project conditions, applicable requirements, and manufacturer instructions.
Particular attention is often required around vulnerable areas such as:
- Roof edges
- Valleys
- Chimneys
- Skylights
- Vents
- Other penetrations
These details can be just as important as the large uninterrupted sections of the roof.
Step 7 — Flashing Details
Flashing helps direct water away from transitions and penetrations.
It may be found around:
- Chimneys
- Walls
- Skylights
- Vent pipes
- Roof intersections
Improper flashing can contribute to water intrusion even when the surrounding shingles appear to be in good condition.
For that reason, flashing should be considered part of the roof system—not a decorative finishing detail.
Step 8 — Installing the New Roofing Material
Once preparation is complete, installation of the finished roofing material can begin.
For asphalt shingle roofs, careful installation involves attention to:
- Alignment
- Fastening
- Manufacturer requirements
- Roof edges
- Valleys
- Penetrations
- Ridge areas
The finished appearance should be consistent, but the quality of the installation underneath is equally important.
Step 9 — Ridge and Ventilation Details
Ventilation can be an important component of the overall roof and attic system.
The appropriate ventilation approach depends on the home’s construction and existing conditions.
A roofing project is therefore a useful time to evaluate whether roof and attic ventilation components are functioning as intended.
Step 10 — Cleanup and Final Inspection
A professional roof replacement does not end when the last shingle is installed.
The final stage should include cleanup and review of the completed work.
This can involve:
- Removing construction debris
- Clearing roofing materials
- Inspecting completed details
- Checking surrounding areas
- Reviewing the finished roof
The homeowner should be able to see a clean property as well as a completed roof.
What Homeowners See vs. What Actually Happens
| What You See | What Happens Behind the Finished Roof |
|---|---|
| New shingles | Existing roofing removal |
| Clean roof lines | Roof deck inspection |
| Finished edges | Edge preparation |
| Uniform surface | Underlayment installation |
| Chimney detail | Flashing and water management |
| Completed ridge | Ventilation and ridge components |
| Finished project | Cleanup and final inspection |
This is why two roof replacement proposals that appear similar on paper can represent very different scopes of work.
Real Ronie Construction Project
The photographs accompanying this article document an actual roofing project completed by the Ronie Construction team.
Rather than showing only the final roof, these images capture multiple stages of the work.
They help demonstrate an important point: the quality of a roof replacement depends heavily on work homeowners will no longer be able to see after the project is finished.
Preparation matters.
Inspection matters.
Installation details matter.
And the finished shingles are only the final layer of a much larger process.
Roof Replacement in Massachusetts
Massachusetts roofs experience significant seasonal conditions, including rain, snow, wind, heat, cold, and repeated temperature changes.
That makes proper installation and water management particularly important.
Homeowners throughout Middlesex County, Worcester County, Norfolk County, and Greater Boston should consider not only how a roof looks when completed but how the entire system was prepared and installed.
Why Professional Roofing Experience Matters
Roof replacement involves demolition, structural observation, water management, material installation, flashing, ventilation considerations, and careful finishing.
Experience helps a contractor recognize potential issues before they disappear beneath the completed roof.
Ronie Construction provides roofing and broader remodeling and construction services throughout the Greater Boston region, allowing roofing work to be considered within the context of the entire property.
Final Thoughts
A new roof is much more than a new layer of shingles.
The process begins with evaluation and removal, continues through deck inspection and preparation, and finishes with careful installation, cleanup, and review.
When comparing roofing contractors, homeowners should ask about the entire replacement process, not simply the brand or color of the shingles.
The parts of your roof you cannot see after installation may be some of the most important parts of the project.
FAQs
What happens during a roof replacement?
A typical project can involve property preparation, removal of existing roofing, deck inspection, necessary repairs, underlayment, flashing, new roofing installation, finishing details, cleanup, and final inspection.
Does all old roofing need to be removed?
The appropriate approach depends on the existing roof, applicable requirements, manufacturer specifications, and project conditions. A professional evaluation should determine the correct scope.
What happens if damaged roof decking is discovered?
Damaged or unsuitable sections may need to be replaced or repaired before the new roofing system is installed.
Why is roof underlayment important?
Underlayment provides an additional protective layer beneath the finished roofing material and forms part of the overall water-management system.
How long does roof replacement take?
Timing depends on roof size, complexity, weather, materials, existing conditions, and any repairs discovered after removal.
How do I know whether I need roof repair or replacement?
The answer depends on the roof’s condition, age, extent of damage, recurring problems, and remaining service life. A professional roof inspection can help determine the appropriate solution.
Thinking About Replacing Your Roof?
Don’t evaluate a roofing project based only on what you can see when it’s finished.
📞 (781) 420-2049
🔗 https://ronieconstruction.com/contact/